[intro] The Report Builder is a tool that shows the work behind your website's SEO improvements. Your EKM SEO account can pull data from Google Analytics (GA4) and Google Search Console, so you get a complete picture of your website's performance. [/intro]
[summary]
[/summary]
Locating the Page
1. From the dashboard, click Reporting and then click Report Builder from the drop-down menu:
2. You’ll then see two buttons. You can select to create a blank report of your own or start from a template report: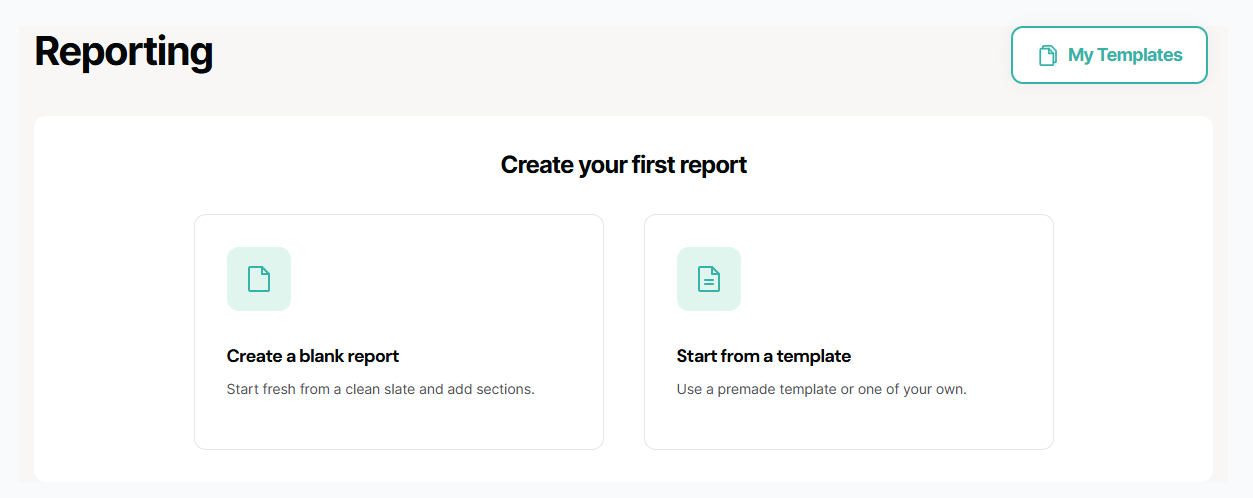
Using Templates
1. Click Start From A Template: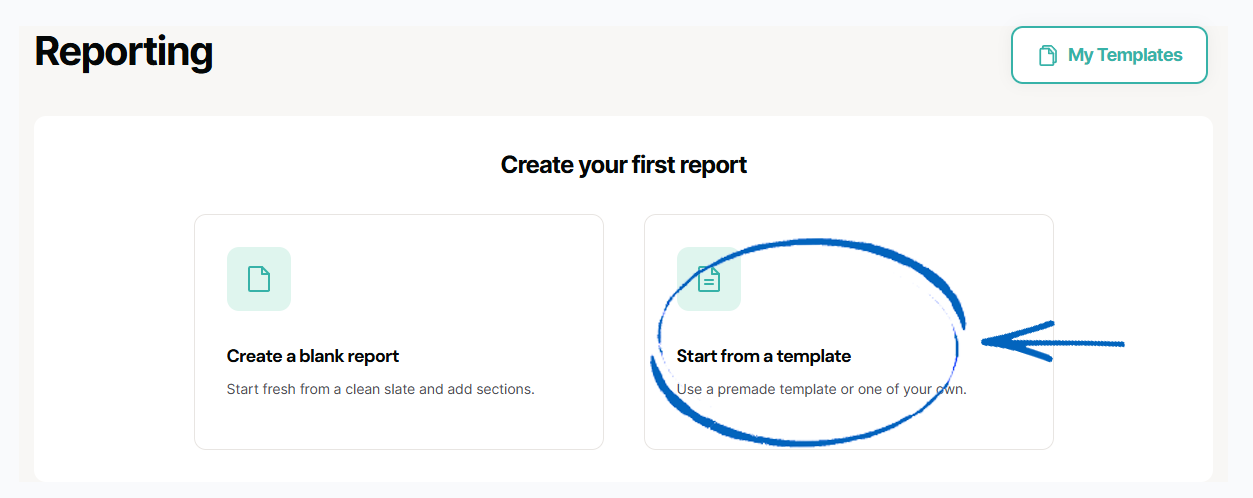
2. In the modal that appears, tick the box next to the report that you would like to see, and then click the Next button: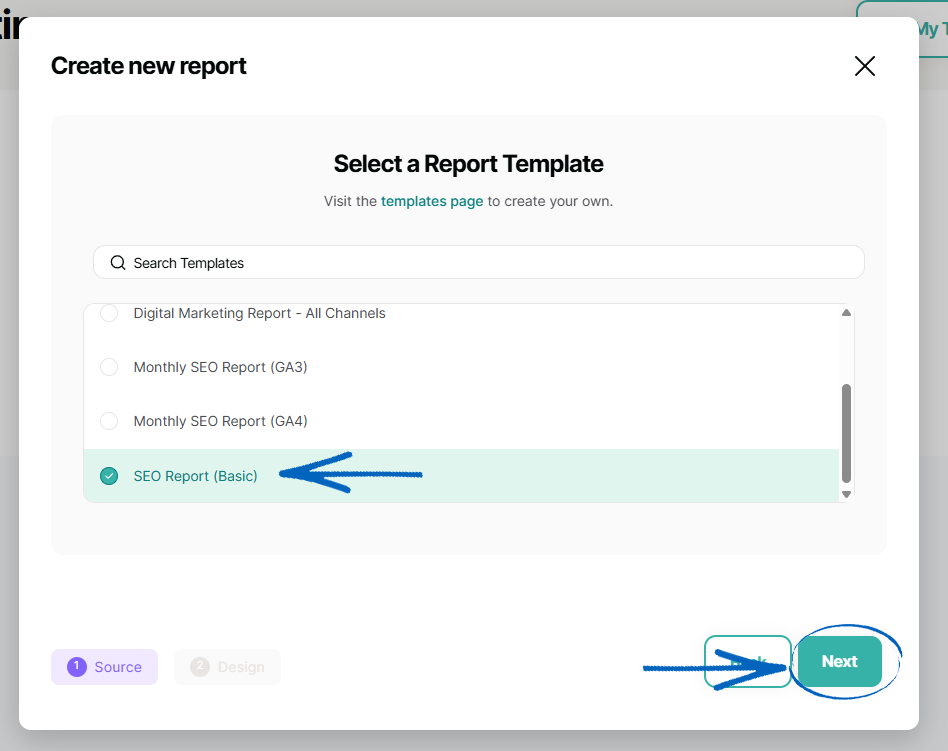
You can choose from:
- SEO Report (Expert)
- SEO Report (Lite)
- Digital Marketing Report – All Channels
- Monthly SEO Report (GA3)
- Monthly SEO Report (GA4)
- SEO Report (Basic)
3. Then you need to customise your report by completing the fields and using the drop-down options, before clicking the Create button: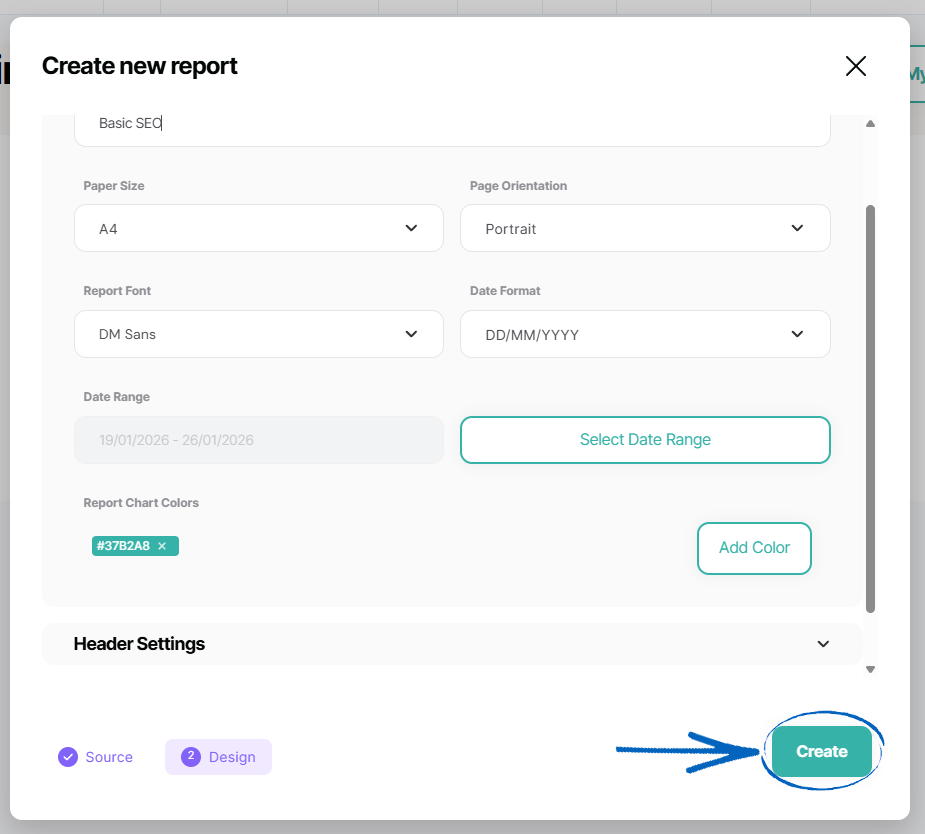
4. You’ll then see this modal. Click Go To Report: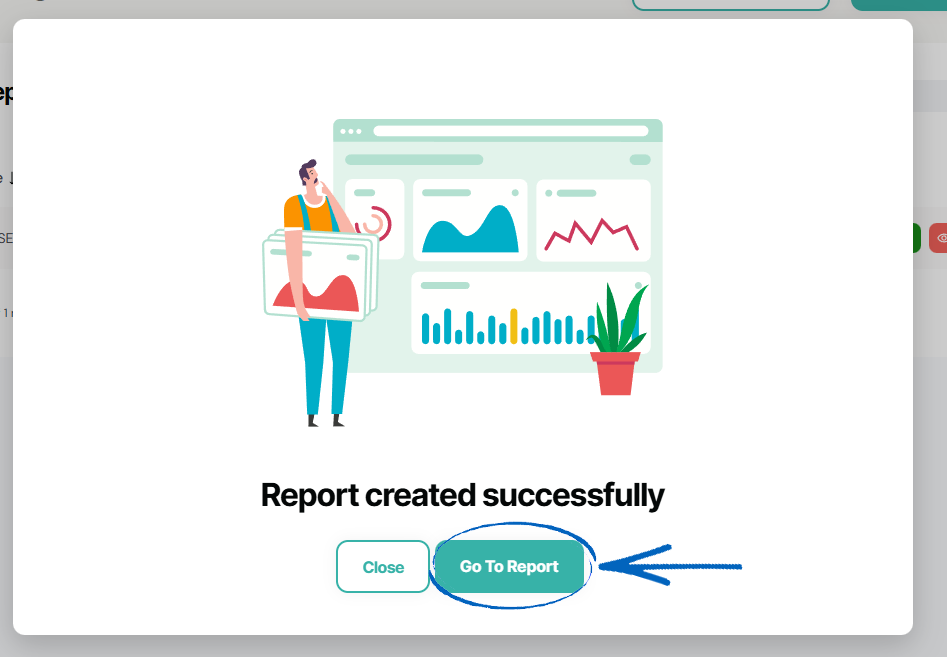
5. You’ll then see this page, where you can scroll down through the different pages of your report. On the left-hand side, if you hover over the ‘Text Area Widget’, you’ll see an edit button and a delete button appear. You can use these to edit the text on the first page. 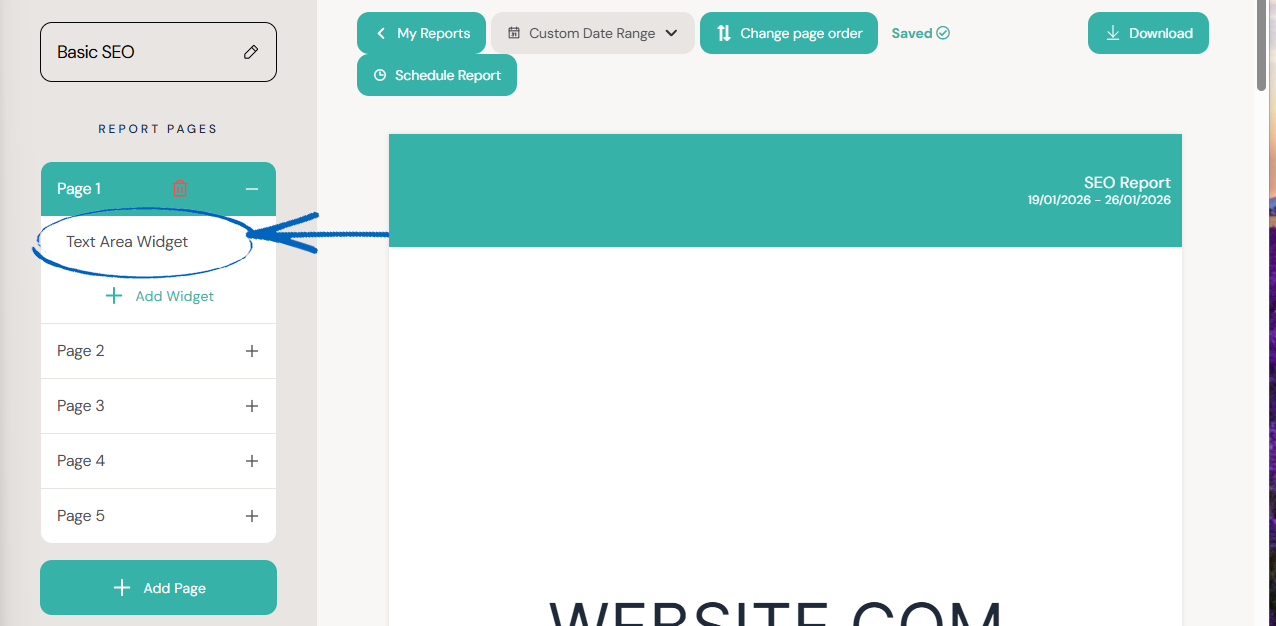
6. You can also click to add widgets to specific pages, which will make this modal appear. Click the plus symbols on the right-hand side to choose what widget you would like to appear on your report: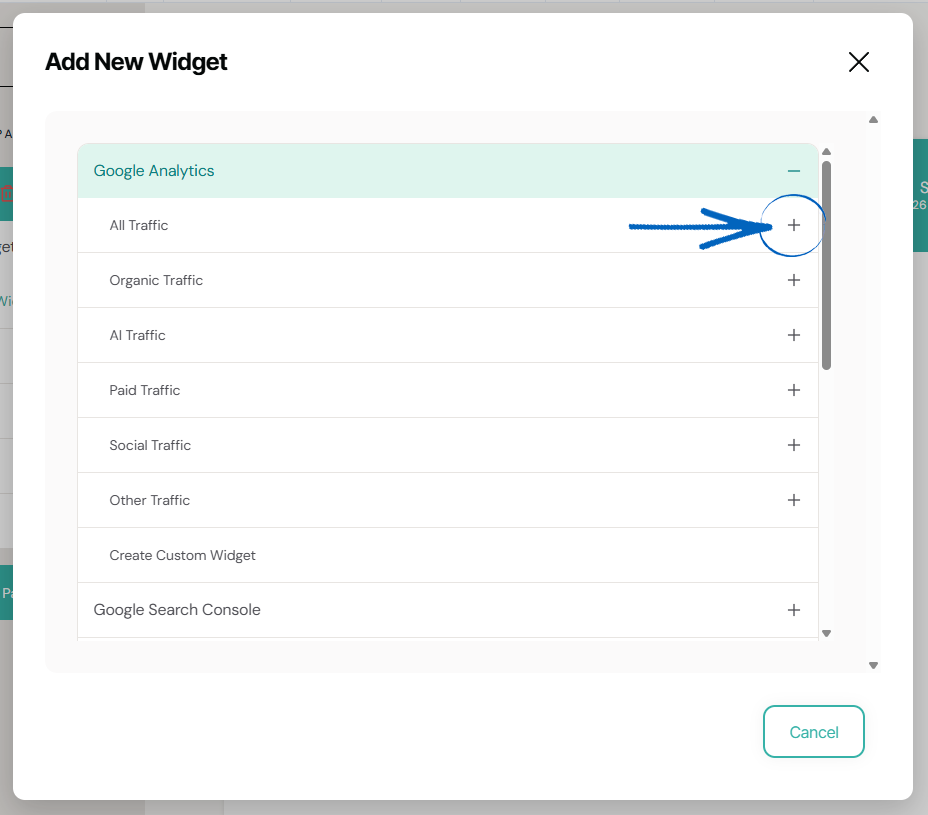
7. When you have selected your widget, you can make changes to it using the fields provided, before clicking Create in the bottom right-hand corner: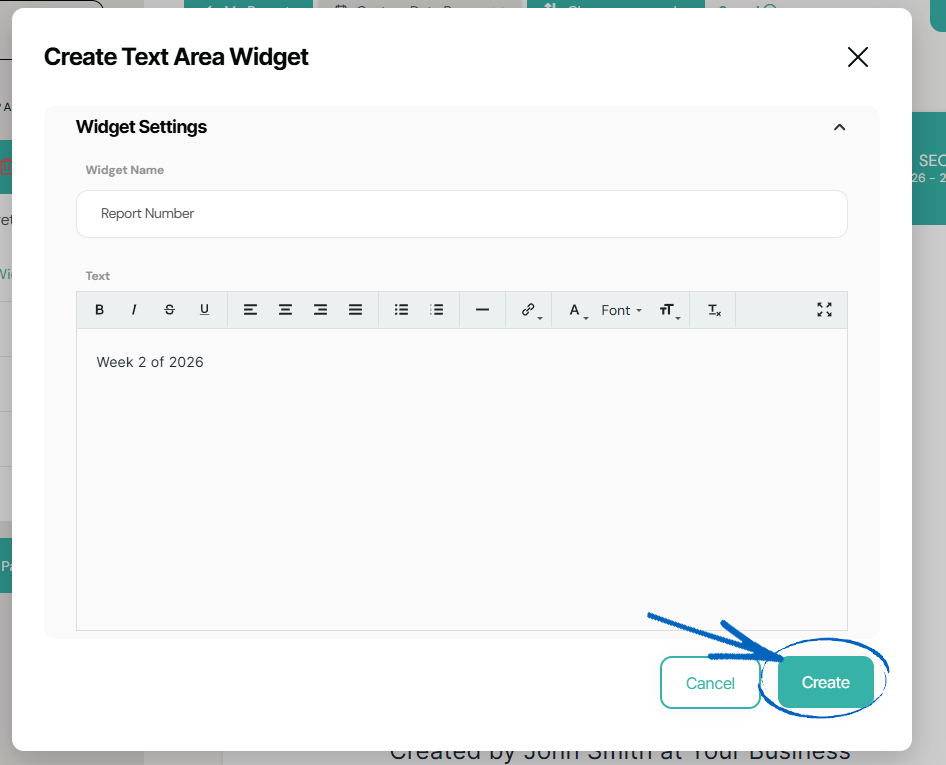
8. You’ll then be returned to the layout editor, where you’ll see your widget displayed on the relevant page of your report. You can hover over the widget on the page to access the buttons to Edit, Delete or Freeze the widget, or drag and drop the widget into a new position on the page: 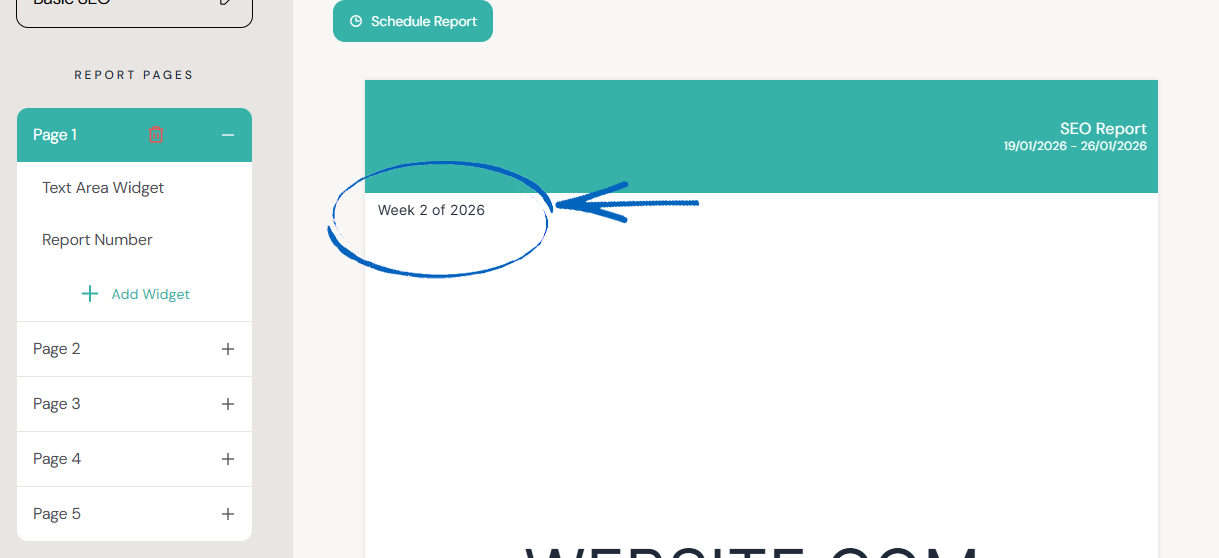
9. Repeat this process with the rest of the pages of your report, editing the data and adding widgets if and where you think them necessary. When you have finished, you can scroll to the top of the page and click the download button. There, you can choose whether to download a PDF or view a browser version of your report:
[remember] When you have created a report for the first time, when you return to the Report Builder page, you will be able to see the option to clone an existing report if you wish to copy a report you’ve previously created, using different data ranges: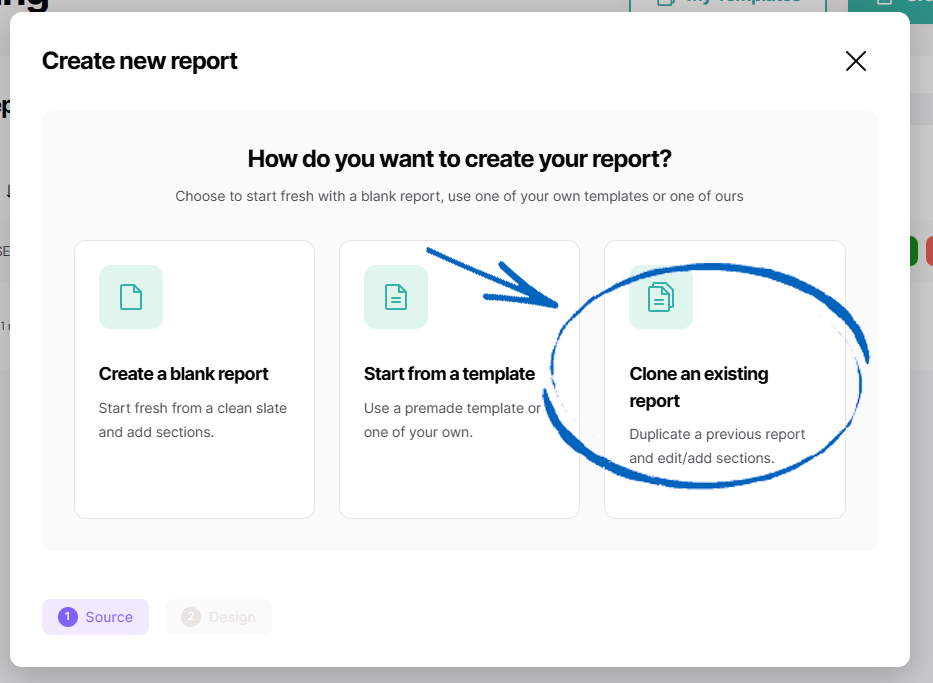
[/remember]
Creating A Custom Report
1. Click Create A Blank Report: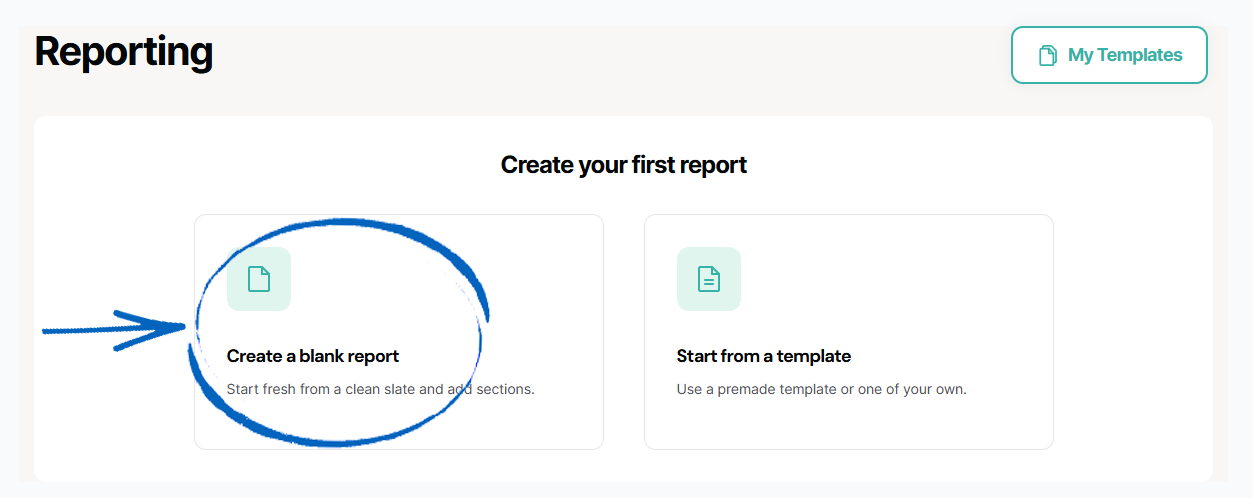
2. Then you need to customise your report by completing the fields and using the drop-down options, before clicking the Create button: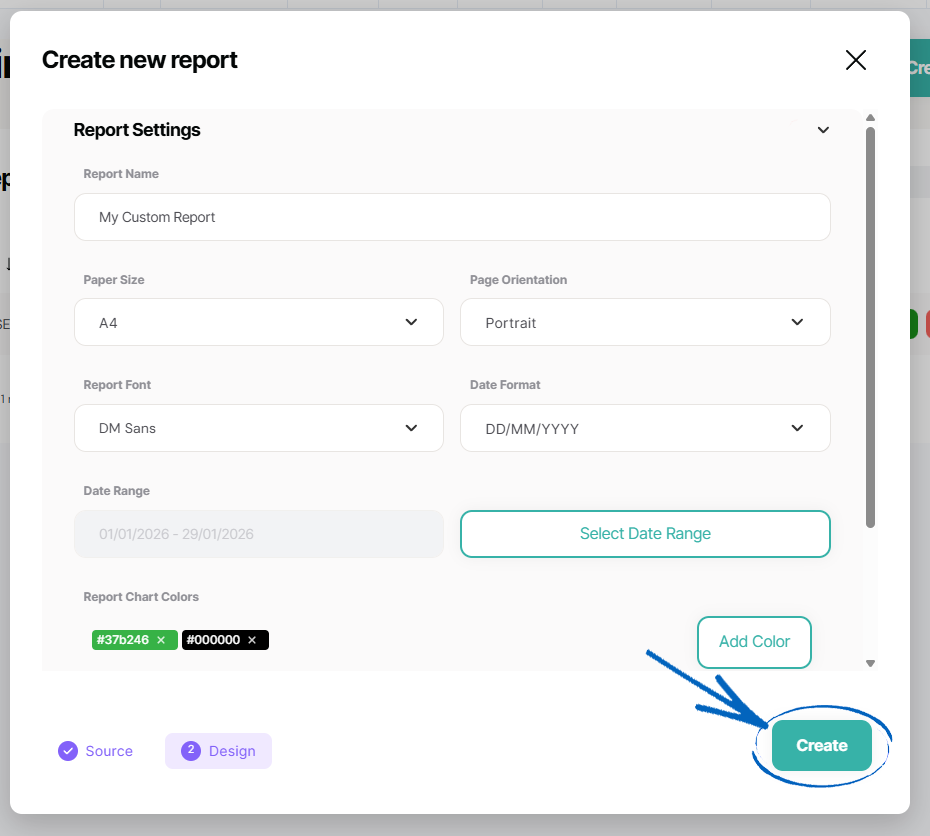
3. You’ll then see this modal. Click Go To Report: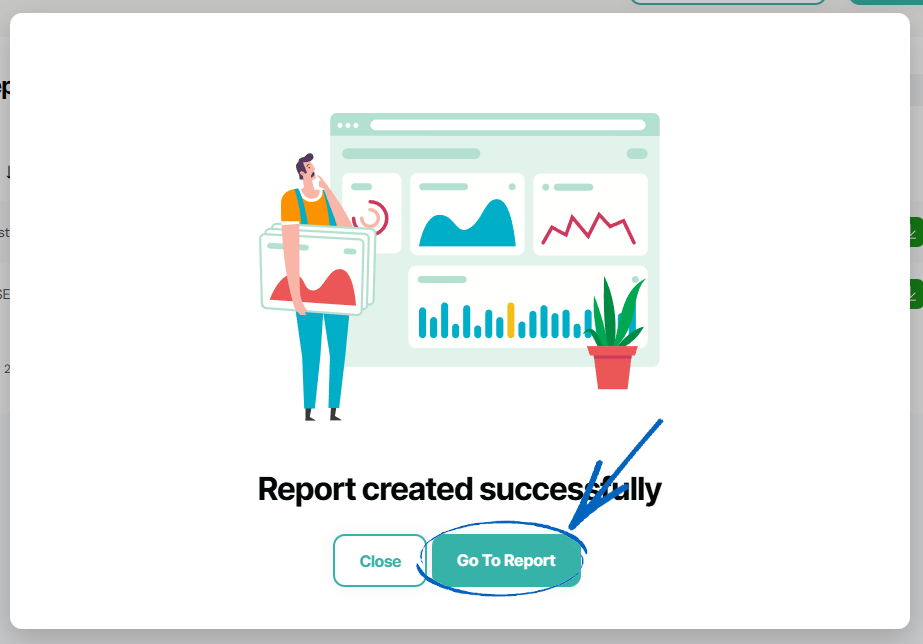
4. You’ll then see this page, which is a layout editor for your report. It will be empty because we haven't added any data yet. To add data, click Add Widget on the left-hand side: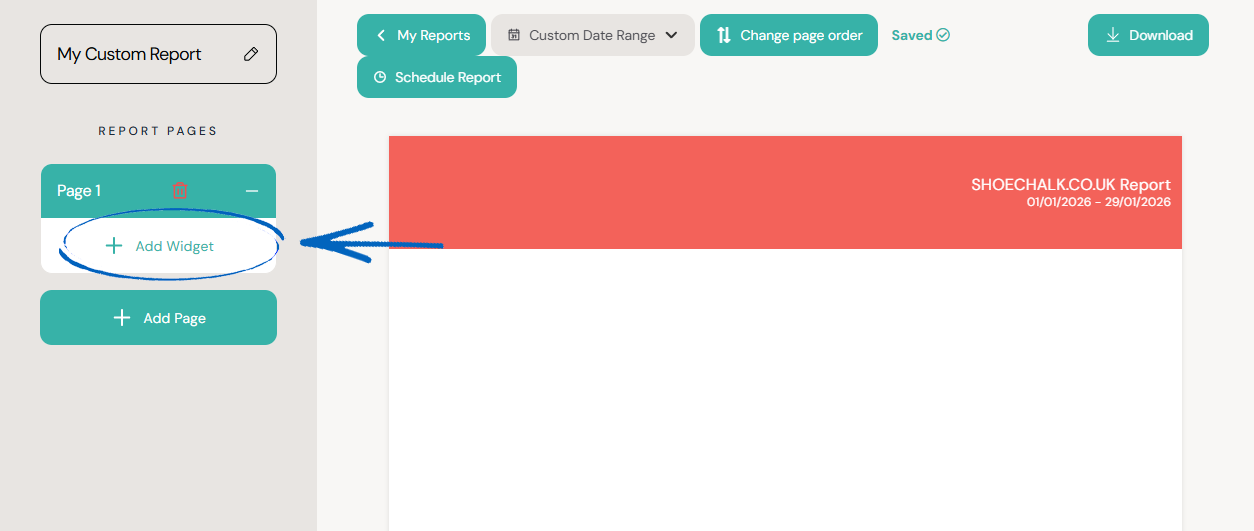
5. Click the plus symbols on the right-hand side to choose what widget you would like to appear on your report: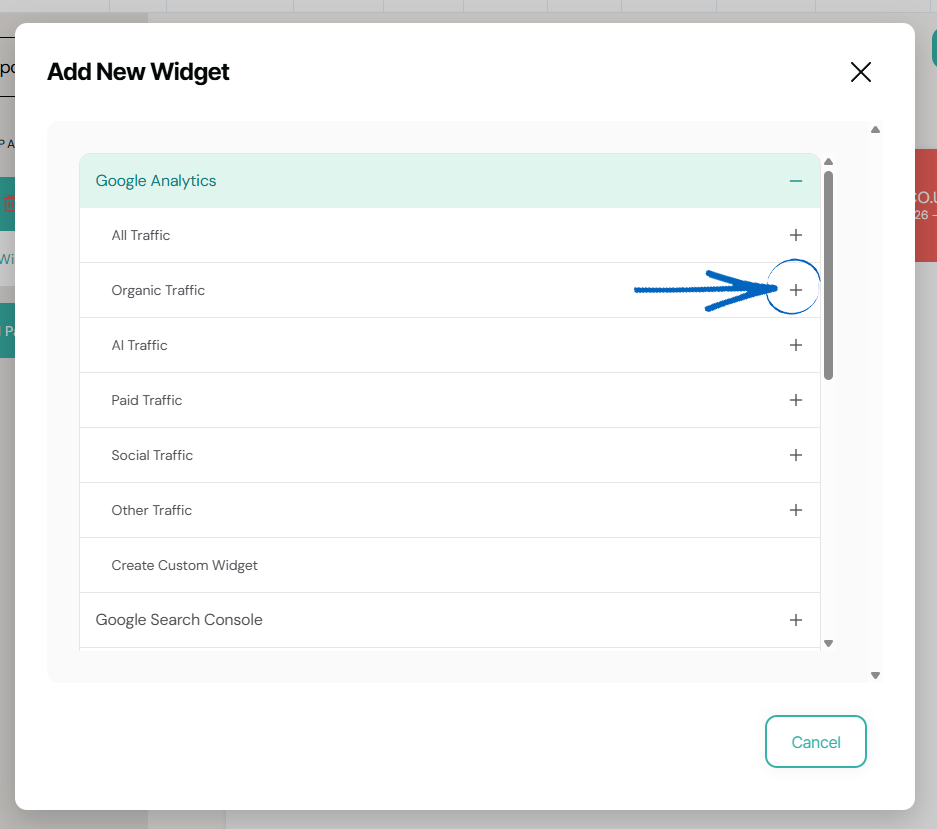
6. When you have selected your widget, you can make changes to it using the fields provided, before clicking Create in the bottom right-hand corner: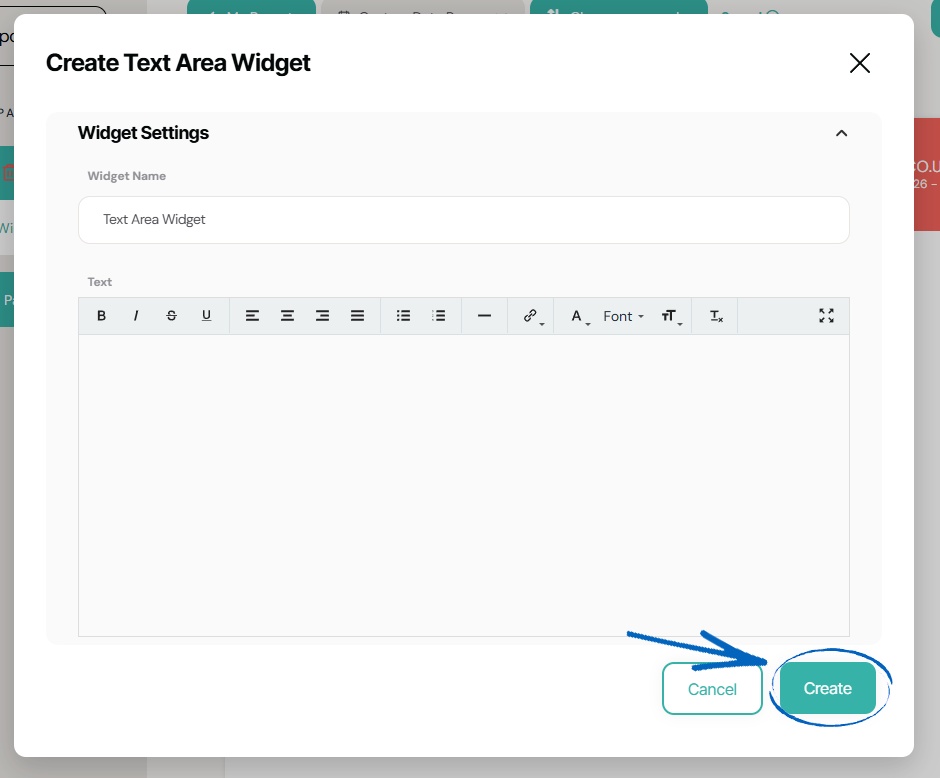
7. You’ll then be returned to the layout editor, where you’ll see your widget displayed on the relevant page of your report. You can hover over the widget on the page to access the buttons to Edit, Delete or Freeze the widget, or drag and drop the widget into a new position on the page: 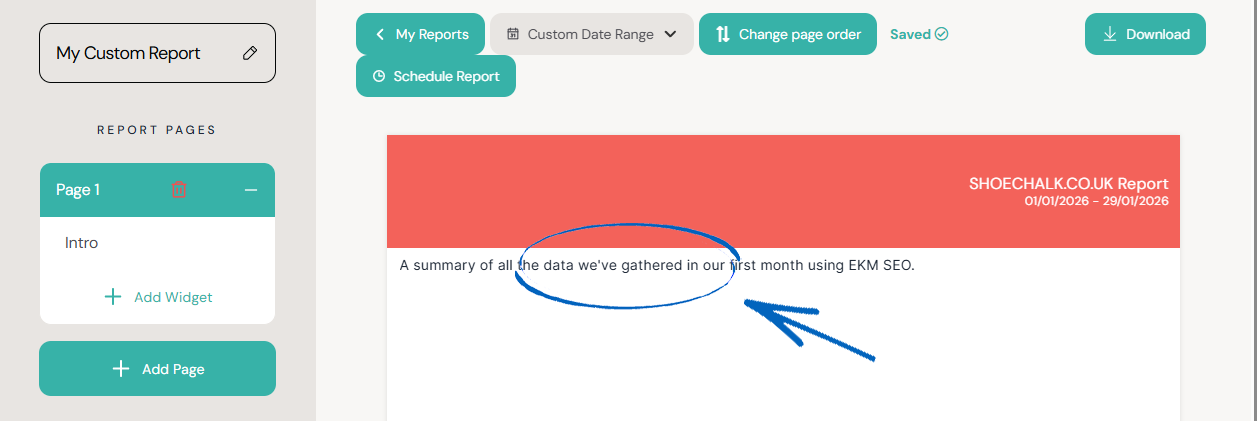
8. Repeat this process with the rest of the pages of your report, editing the data and adding widgets if and where you think them necessary. When you have finished, you can scroll to the top of the page and click the download button. There you can choose whether to download a PDF or view a browser version of your report:
9. When you have finished creating reports, your Reporting page will look like this: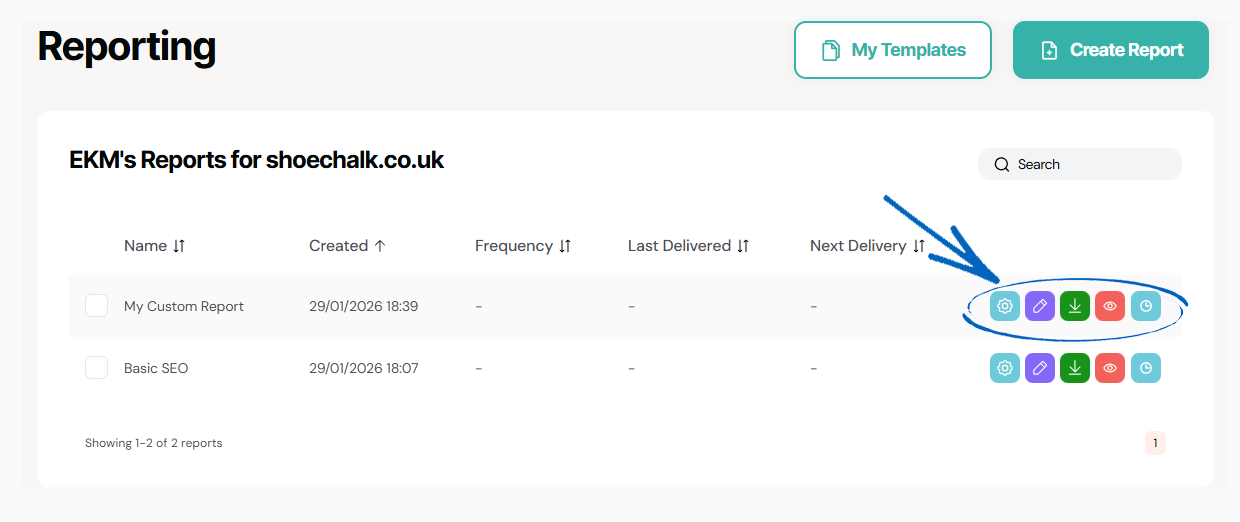
10. On the right-hand side, you’ll see buttons to help you manage your report.
- Report Settings – Amend the settings for the report, such as date range, name, page orientation and colours used.
- Edit – Return to the process of editing the report, such as adding extra pages and widgets.
- Download – Download a PDF version of your report.
- Preview – Preview your report in a browser tab.
- Schedule – Schedule your report frequency and date ranges to be recreated automatically and emailed to specific addresses on a regular basis.
[tips] To show SEO performance, we would recommend comparing month-on-month & year-on-year data. Year-on-year data is particularly significant as this is when you'll really start to see how your SEO work has impacted traffic to your EKM online shop. [/tips]
Frequently Asked Questions
What other reports can I download from my EKM SEO account?
There’s lots of other reports you can download from your EKM SEO account if you need a specific piece of data quickly.
1. Your Completed Actions
To download a copy of all the actions you have completed for you within a given period, you need to click on the Your Actions page and then click the Completed tab on the right-hand side. You will then see the two export buttons for PDF and CSV on the right-hand side.
2. Keyword Ranking Report
To download a list of the keywords within your SEO strategy that you currently rank for, you need to click on the Reporting tab and then select Keyword Tracker from the drop-down menu. Then click the settings cog button in the top right-hand corner, and you can download a list of your ranking keywords onto a spreadsheet or PDF.
3. Backlink Report
If you want to download a list of the backlinks pointing at your EKM online shop, from the dashboard, you need to click the Backlinks tab and select Your Backlinks from the drop-down menu. At the top of that page is an Export button on the right-hand side.
4. Local Keyword Ranking Report
To see a list of local keywords that your EKM online shop ranks for on Google Maps, from the dashboard, click the Local tab. Click Rankings on the drop-down menu, and then click the Export button at the top of the page.
5. Organic Traffic Performance
To see the organic traffic for your EKM online shop, you need to click Reporting from the dashboard and then select Traffic on the drop-down menu. Scroll down on this page until you see the Clicks & Impressions graph and click the ‘down arrow’ symbol in the top right-hand corner of the graph. You can then choose whether to download this data as an SVG, PNG or CSV.
Why am I seeing errors in the Report Builder?
If you're encountering errors in your report, it could be due to several reasons. Here are a few things you can check:
1. Account Connection: Check your account settings to be sure that your Google Analytics and Google Search Console accounts are connected properly. If you're seeing an error message here, we'd recommend disconnecting and reconnecting your account.
2. Data Input: Ensure that Google Analytics (GA4) and Google Search Console are collecting data. If they're not, you may need to set up your tracking tag.
3. Google updates: Check if any recent updates on the platforms might be causing temporary issues with reporting.
4. For anything else, please contact the Customer Support Team with your replication steps, so we can investigate the issue for you.
[more]
[/more]
[contact]If you need our help with your EKM online shop, contact your Ecommerce Expert, Account Manager, or the Customer Support Team, who can point you in the right direction. Our opening hours are 9 am - 5.30 pm Monday to Friday, for telephone calls, live chats, and emails. Outside of these hours, you can leave a message for us in the live chat window or email support@ekm.com, and we will answer as soon as possible. If you'd like to suggest a feature or an upgrade on any of the EKM platforms, please let us know on the EKM Suggestions Board. [/contact]